My daughter is two and a half and I wanted to find a fun way to talk to her about composting. How do I explain this? What is compost for kids?
Normally, I’d harness my musical talents (you know I don’t have any), and create jingles to help explain things to my daughter. For instance, this is a jingle I would sing repeatedly when my daughter was first walking.
Sometimes we fall
When we walk or crawl
And that's ok
That's all right
We get back on our feet
And we repeat!
As I’m sure you’ve witnessed with kids learning a new skill like walking, they’re constantly falling and crying, feeling completely helpless.
This is why we use songs. It makes new things seem a bit more fun.
Fortunately for you, for this compost exercise, I chose not to create a jingle or silly dance. Perhaps, I should next time!
For now, I looked to the web and found an amazing local and public garden.
Table of Contents
What Is Compost For Kids: A Learning Journey At Green Spring Gardens
We arrived at Green Spring Gardens, a natural wonderland for children. What’s great is the gardens are open year round for our enjoyment.
Fairfax County Parks operates and maintains the grounds. More importantly, this means the gardens are totally free for us to roam about and explore.
“The park has a wooded stream valley with ponds, a naturalistic native plant garden, more than 20 thematic demonstration gardens, a greenhouse, a plant shop, two gift shops, a historic house, and a horticultural reference library. The gardens and educational programs focus on practical landscaping techniques that are appropriate for the Washington metro area.”
Source: Green Spring Gardens
Parks and gardens give you the opportunity to be outside and one with nature, not to sound corny. All of which are great for creating perfect teachable moments with kids.
For instance, in the blocked off children’s area, you could first talk about the raised beds and what is and what’s not grown there. This could lead into talking about the seasons and different climates necessary to grow certain vegetables or fruits.
Secondly, you could observe how kids interact with the wind chimes or blocks neatly arranged on the table in the large outdoor play area.
Thirdly, you could walk along the composting path explaining how composting works (see image below).
Teaching What Compost Is For Kids Through A Bin System
In our quest to find a fun way to learn about compost, we found ourselves giggling and jumping from one painted slab to the next. We jumped from each letter marked with:
C –> O –> M –> P –> O –> S –>T
All along the way, these messages taught our daughter about composting.
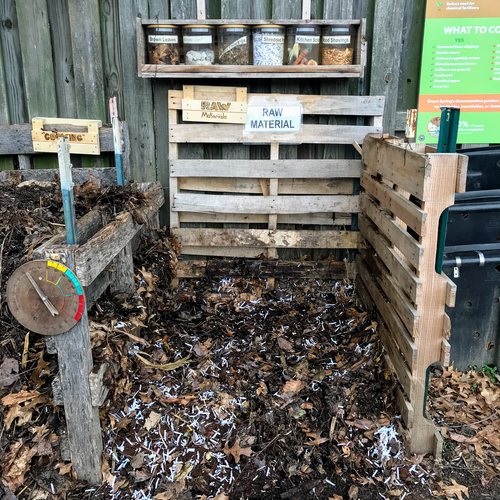
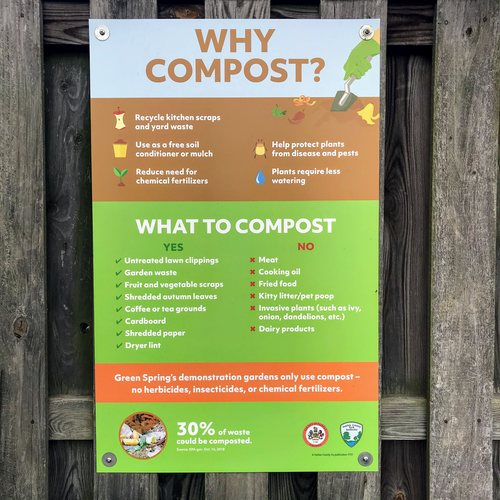
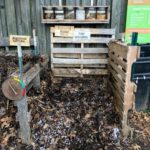
These messages ended at a four bin compost system and poster for why we should compost, what to compost, and how compost makes great rich soil.
The path to get to the bins was an exciting way to teach a kid about composting. In other words, there were no tired eyes or yawns here, but rather smiles from ear to ear. Oh yay, a mini song! You see what I did there?
The visuals and piles of raw materials showcasing the beginning of the composting lifecycle to the end was dirty, messy, and all together brilliant.
I’ve never been a fan of dirty fingernails, but now I have a much greater appreciation for them when you know you’ve been digging in the dirt.
You gotta love it!
Follow me now along this journey below to the composting bins.
by PK Weiland at Growmuse
Bin 1: Raw Materials 
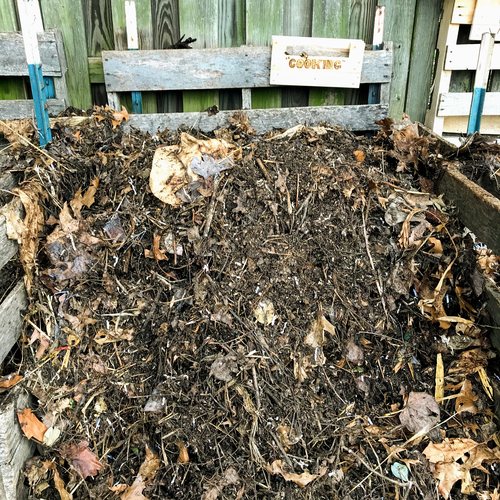
Bin 2: Cooking 
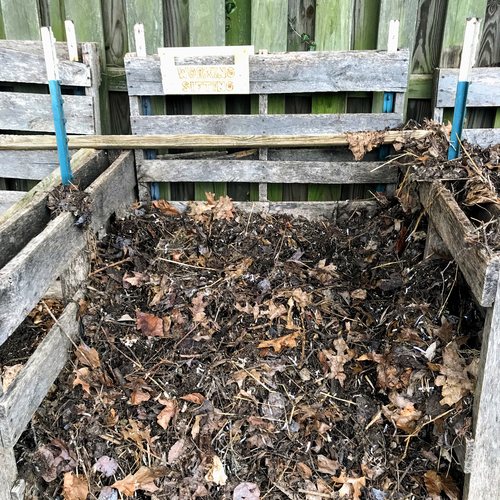
Bin 3: Working / Sifting 
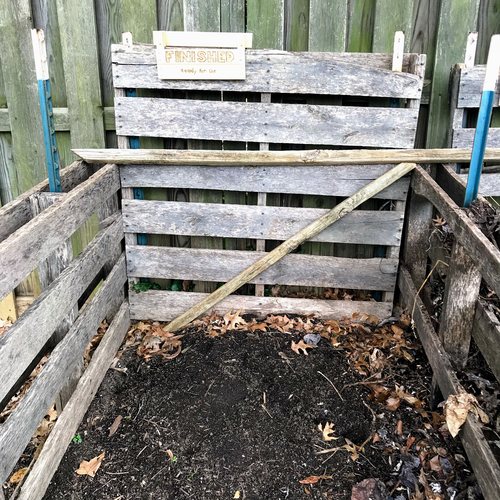
Bin 4: Finished
The First Bin: What Raw Materials To Include In Compost
The first step is to set out different raw materials:
- Brown Materials (Carbon): dry leaves, dryer lint, shredded newspapers
- Green Materials (Nitrogen): fruit, vegetable scraps, grass clippings
What NOT to include in your compost?
Meat!
Cheese!
Fats or cooking oils!
Meat, cheese, and fats rot slowly, smell awful, and attract rats.
The Second Bin: How To Get the Compost Cooking
The second step is to start “cooking” the compost by adding brown and green materials to the bin.
You don’t have to be meticulous about the ratios of brown to green materials. A general rule of thumb is to add two parts of brown material for every one part of green. If you’re putting a handful of green materials in the bin, add two handfuls of brown.
The Third Bin: Working/ Sifting The Compost
The third step is to speed up the decomposition process by using a shovel to aerate the pile (this provides adequate oxygen). Fluff it up every few days and you’re good to go.
The center temperature should reach 130° degrees, allowing the microbes to break down the organic matter.
The Fourth Bin: Compost And The Finished Product
The end result is dark and has a crumbly texture. It smells earthy, but not stinky. This dark dirt is filled with tons of nutrients.
If you’d like to add this extra step, some people use a sifter to separate larger pieces out that may need more time to fully decompose.
Here Are Ways To Use Your Compost:
- Mulch around garden plants
- Mixed into the ground if you’re planting new flowers
- Mixed with sand makes for a great potting mix
That sounded like a lot of work, but was it really?
No! It wasn’t a lot of work. Realistically, at the end of the day, you could just leave your compost pile alone and not do anything to it. Likely, the organic matter will take a year to break down, but it eventually does. Use this method if you want to be hands off!
Now you’re probably thinking is it worth it to compost?
Yes, it’s good for the environment. You can read more about composting and climate change here.
Ok, so it’s good for the environment, what else?
What about a cost savings? Is that worth it? Heck, yes!
This is a great article for itemizing and calculating cost comparisons. Nature’s Way Resources was able to determine that “one cubic yard of compost provides over the same value as $562.00 worth of other products combined!”
“One cubic yard of compost provides over the same value as $562.00 worth of other products combined!”
Source: Nature’s Way Resources
Our overall review? Our visit to Green Spring Gardens exceeded our expectations.
We learned composting systems come in a lot of different forms and you have to pick what’s best for your lifestyle, space, and family.
To sum it up, kids find it thrilling to see the different stages of decomposition when taught in the right environment.
Other Fun Activities at Green Spring
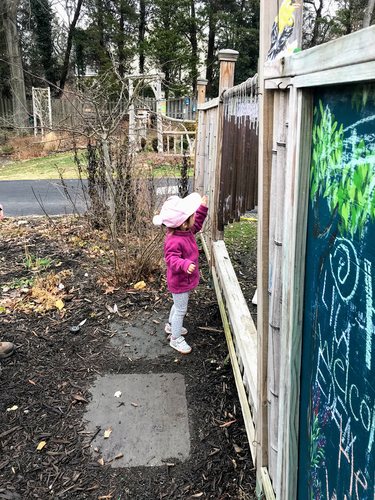
Alongside the composting path is an interactive outdoor play area with wind chimes, a chalkboard, and a reading nook with a library.
Our daughter bounced from one activity to the next. We found her playing with sticks, dirt, and working on her upper body strength trying to push tree trunks on their sides.
After plowing through the children’s area, we decided to walk back through the trees, where we were greeted with beautiful ponds and fountains.
People were running along the paths, walking their dogs, and strolling through the serene and quiet woods. This was a good time to simply listen to our surroundings.

Children’s garden with chalkboard and fun chimes
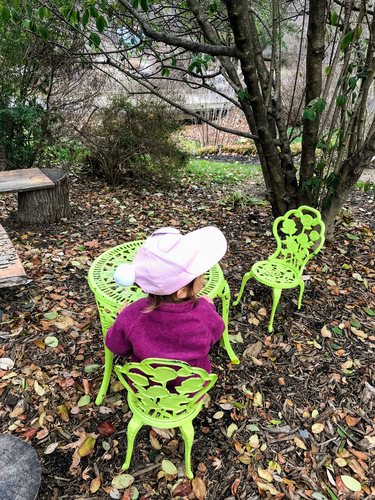
Having been in the gardens for roughly an hour, we inevitably got hungry. Luckily, there were plenty of logs and tree stumps for us to enjoy our trail mix. Never forget snacks when traveling with a toddler!

Taking a break and enjoying her surroundings
What Is Compost For Kids In This Children’s Book
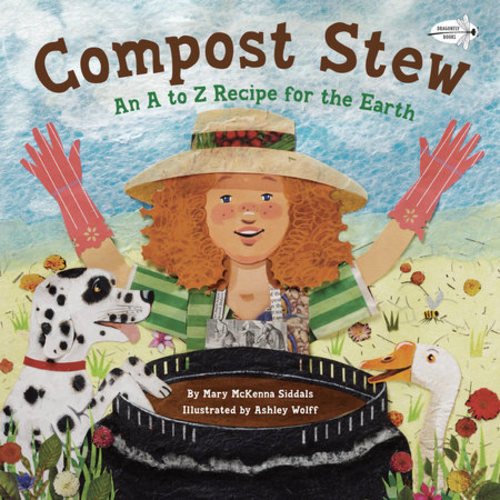
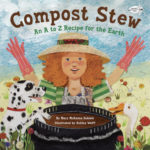
Let’s say you don’t have time to go to Green Spring Gardens or your nearest garden for that matter. A good alternative is to read this book called Compost Stew: An A to Z Recipe for the Earth with your kids.
The author Mary McKenna Siddals creates a fun and engaging story about how to create the ultimate compost.
If you’re an adult and know nothing about composting, have a quick read, and you’ll be a compost pro by the end. It’s like CliffsNotes but better and shorter!
Siddals calls kids to be “environmental chefs” and goes through the alphabet letter by letter listing ingredients to add to the bucket to make a most wonderful compost stew.
The story is creative, fun, and engaging with new ingredients on every page. It’ll undoubtedly get your kids excited to create this new compost stew with you.
Even better, the illustrations by Ashley Wolff complement the story beautifully. As you can see on the front cover above, Wolff creatively uses recycled materials like magazine and newspaper clippings to draw gloves, an apron, and a shirt, to name a few.
What Is Compost For Kids and Our Home Compost Piles
After visiting Green Spring Gardens, anyone would envy that compost bin setup. If you don’t have an abundance of space, and lack the skills or the wood to create the bin system Green Spring Gardens uses, here’s a simple way to set a compost system set up at your home.
Granted, you’ll still need some outdoor space for what I’m about to share. Sorry apartment dwellers.
Tumbler
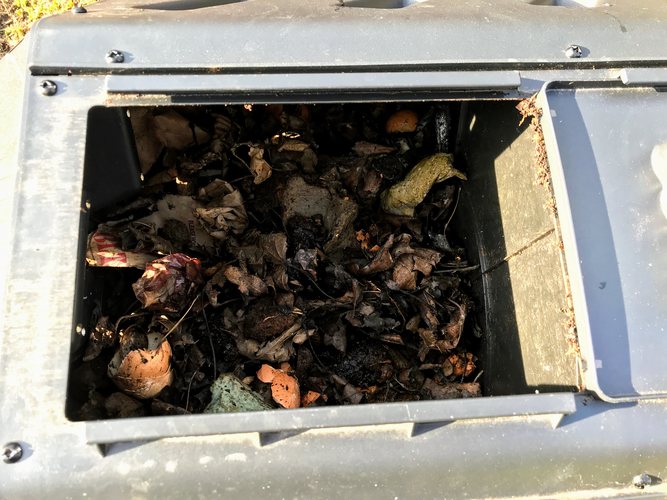
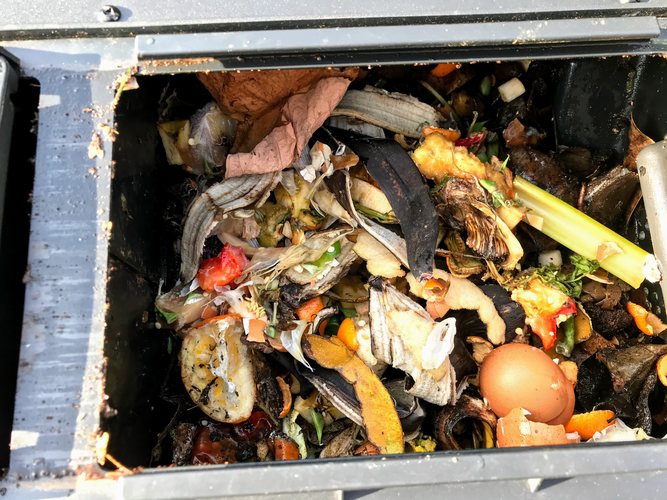
We use an outdoor tumbler with two chambers as you’ll see in the below picture. After we filled the first chamber, we stopped adding raw materials to it. We allow it to cure and continue to decompose (tumbling every few days).

Chamber 1: Working/Tumbling (started in Oct. 2019) 
Chamber 2: Compost cooking; adding raw materials daily
The second chamber is for raw materials.
Once chamber one is finished, it will contain fine and coarse materials. Chamber one has been decomposing for almost three months now.
I’m sure it could have broken down faster, but I added dead leaves to the pile without shredding them. This takes longer for the compost to fully break down.
I have a wonderful neighbor who checks in on my composting efforts. She told me to get more bins and to stop adding raw materials to what I have because it’ll take longer to decompose.
I’m thinking seriously about adding some!
Bucket
If you don’t have the space for a tumbler, you could use a bucket!
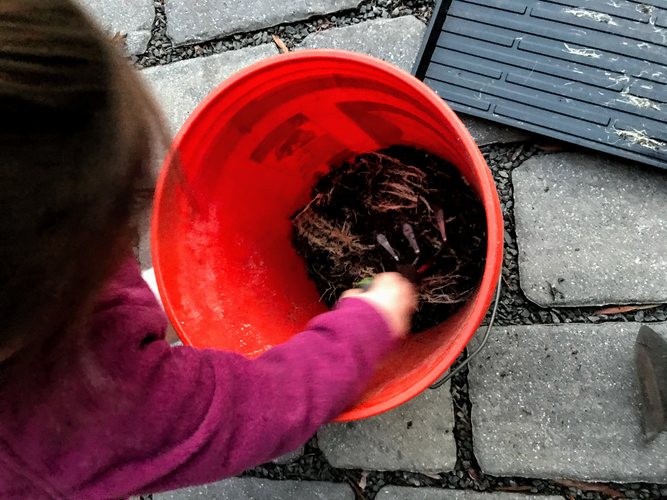
I tried this for the first time and started composting the used soil from my recently harvested microgreens tray. There are a ton of nutrients left in the soil, because microgreens don’t take out a lot out of it.
The roots grow wild and crazy, so it’s a challenge to re-use the soil for another round of growing.
The best solution I read was to compost it and create more nutrient-rich soil.
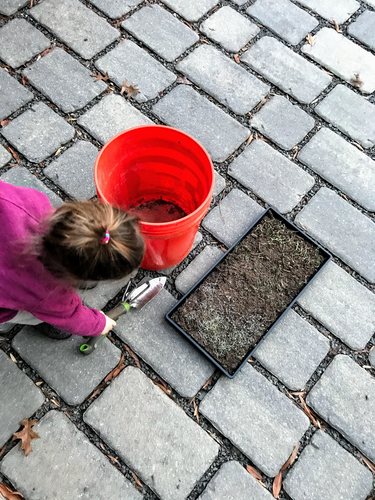
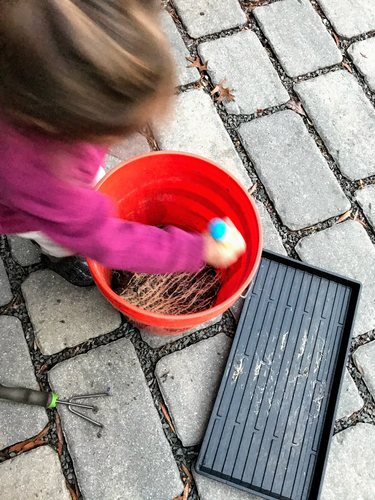
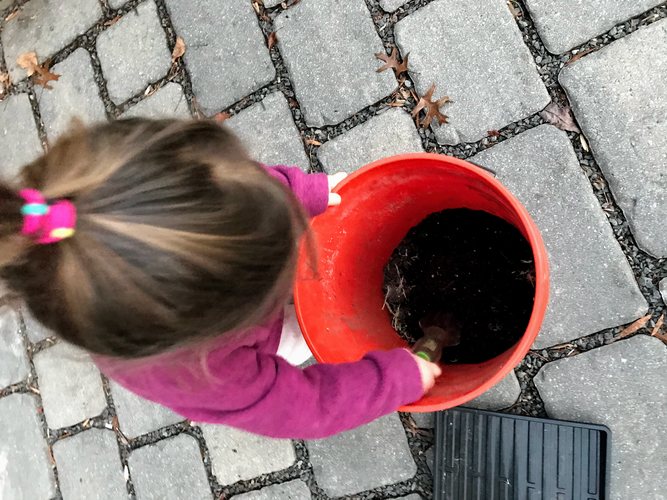
It’s so easy and simple, my daughter did it herself. Are you more than two years of age? If so, you can compost too!
I recommend taking this task outside in case the soil falls and lands outside of the bucket. Ours almost did.

Step 1: Grab a bucket and your used soil from microgreens 
Step 2: Dump the soil into the bucket 
Step 3: Break up the roots and mix it up 
Step 4: Mix in some potting mix
Every three or four days, give it a nice mix, and you’ll see roots breaking down. Add a little bit of water if it seems too dry.
After about 20 days the roots should have broken down and there’s great compost for you to use.
How Will You Teach Your Kids About Composting?
There are many interactive and fun ways to teach your kids about composting.
If you live in the DC Metro area, go head to Green Spring Gardens soon. Did I mention it’s 100% FREE?
If you’re not in the DC Metro area, take advantage of this book Compost Stew: An A to Z Recipe for the Earth. It’s an easy read with lots of fun illustrations.
If you haven’t started composting yet, share in the comments what’s holding you back.

Aw, this was a really great post. In theory Id like to write like this also taking time and real effort to make a good article but what can I say I procrastinate alot and never seem to get something done.
Thank you for the great info! I would never have gotten this by myself!
Wonderful! Glad you found this useful.