Any links on this page that lead to products on Amazon are affiliate links and I earn a commission if you make a purchase. Thanks in advance for your support! Read the full disclosure here.
The holidays are over and the next big event to look forward to is spring gardening! Gardening for spring requires a few steps before you do any actual planting. You do not want to forget one of these crucial little known steps.
It’s still a bit cold outside anyways, so sit back and review these tips for getting your garden ready for spring.
Table of Contents
Gardening For Spring
In preparation for spring gardening, you’ll first want to take inventory of your seeds. Then, you will want a clean and organized garden space. No rusty or dirty tools allowed. I’ll review what you need to do to make sure your tools are ready for the spring.
Next up is to take a look at your yard. Do you need to fix any broken structures? Do you want to add any new containers or garden beds?
If you are adding anything, I’ll make sure you animal proof those beds so no critters take advantage of your delicious crops.
Lastly, I’ll cover all the things you need to do to prepare your garden soil for planting once temperatures warm up.
Let’s prepare the garden!
Take Inventory of Seeds
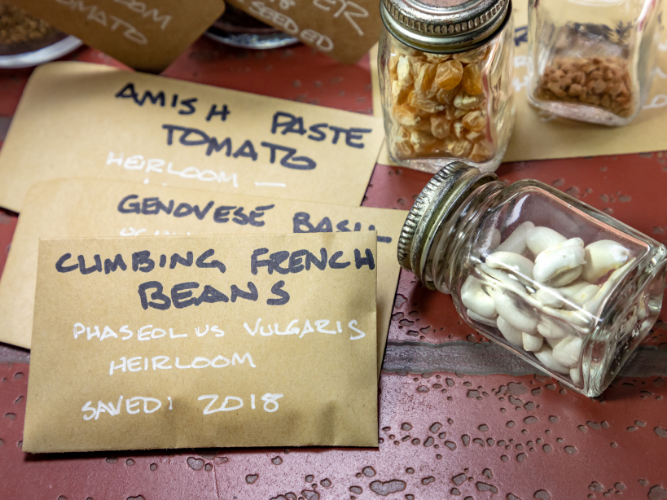
See what seeds you have in storage that you want to plant in the spring.
Organize your planting schedule and decide what new crops you’d like to grow.
Order new seeds or search on social media for seed sharing groups if you want to save a few bucks.
Johnny’s offers a ton of variety you can’t find elsewhere.
For a more economical option, Pine Tree Garden Seeds is great. They offer more affordable seeds packets with less seeds for the beginner home gardener.
Cleanout Your Garden Storage Area
If you did not clean your tools from last season, now is the time to get them ready.
Use a disinfectant spray and wash off any debris on all of your tools to get rid of pathogens. Wash pots, seed trays, and containers thoroughly. Make sure to dry them off well too before use.

Sterilizing Solution Instructions:
- 1:10 bleach:water solution**
- Soak trays & containers for 20 minutes; spray tools
- Rinse clean of all bleach solution
- Dry trays, containers, tools.
**For a solution without chemicals that’s 97% effective, use 1:10 vinegar: water solution.
We used the the non-chemical solution, so our daughter could help. She loves helping out and using spray bottles. Get those kids to work!
Sharpen your tools if necessary. Your local hardware store will offer these services if you don’t have the equipment to sharpen at home.
Then get them nice and shiny with some oil or WD40.
Fix Broken Structures In The Garden
Take a look at your garden and see if any raised beds or trellises have any damage from the winter.
Especially mind your structures made of wood.
Do you see any signs of rot or deterioration?
What about mildew? Give these things a quick scrub and have them completely dry before staining or painting.
Add New Garden Beds
If you had a lot of success last season and want to expand your garden beds, now is the time to find the right location.
Remember to find a spot with 6-8 hours of sunlight throughout the year.
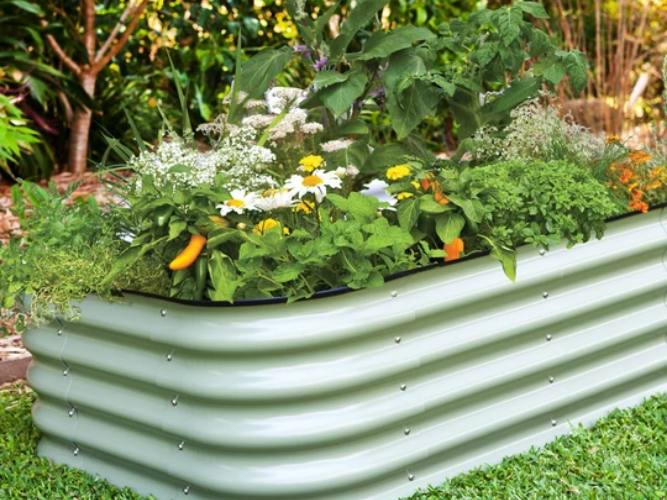
I highly recommend using these raised beds, which are made of cold-rolled galvanized steel.
It’s made by an Australian company called Birdies. The design, simplicity in putting the bed together, and durability of this raised bed makes it a top choice.
Compared to most metal beds at 12″, these beds are 15” tall offering better pest resistance and season extension possibilities. They also allow for better soil life, drainage, and root growth.
Protect Your Garden Beds From Animals
If you’re adding new beds, make sure to layer underneath a sheet of hardware cloth. This metal layer prevents digging pests like groundhogs, moles, gophers, and voles from coming up through your beds. Skipping this step could lead to lots of crop damage from within.
You’ll also want to add super high garden hoops to your garden. These hoops will hold up any netting or garden fabric you use to protect your crops from birds, squirrels, deer, and other animals that might want to taste your plants.
If you’re using the Birdies raised bed, hoops are very easy to install without equipment. Simply push the hoops on each end into the soil deep enough so they don’t move.
You can then attach the fabric or netting with clamps.
Clean Out Existing Garden Beds
Remove vegetables that didn’t make it through the winter season. You’ll also want to take off the mulch you added to any beds.
Add the dead vegetables and mulch to your compost pile.
Prepare Existing Garden Beds
Two to three weeks before you begin to plant in your garden beds, take a look at the soil.
Has your soil compacted over the winter? Do you have any weeds you need to clear?
Clear out weeds by the roots. Remove any new leaves that have fallen into your beds.
It’s likely that your soil has compacted down from the rain and snow. You should add some new soil if necessary. Give that pile a nice mix so the old and new soil combines together.
Top your soil with two inches of compost either from your homemade mix or from your local nursery. Gently mix this into your soil.
Work Your Cover Crops Into The Soil
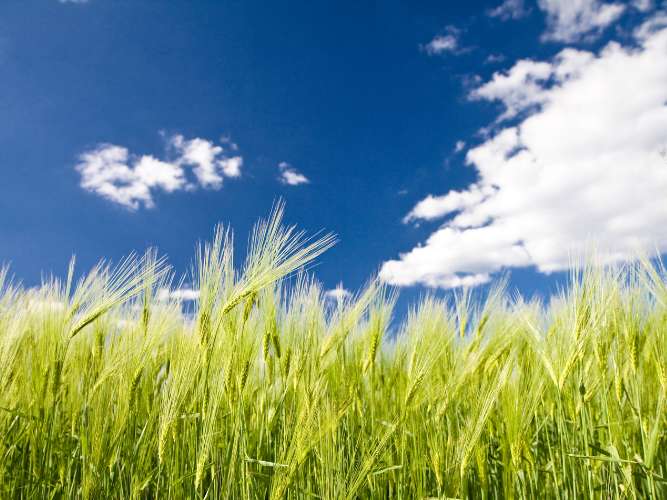
If you planted cover crops (grasses or legumes) in the fall, spring is the time when you’ll want to work those into your soil. It takes a few weeks for them to decompose.
We planted winter rye in the late fall in one of our beds. It grew very quickly resembling tall grass.
Cover crops will give your soil a nice nutrition boost, manage weeds, pests, and diseases. All of this comes naturally without adding fertilizer.
Garden Maintenance
When freezing pipes aren’t a concern, run your water and check for any leaks in your hoses.
This is also a good time to check in on your compost pile. If you don’t have one set up, try setting up a simple compost tumbler in your yard.
The winter can make your compost pile damp or soggy. When it’s warm enough outside in the early spring, add some tree prunings, dead leaves, and shredded paper to help absorb all that extra moisture.
Give the compost a nice mix or tumble to help breakdown the clumps.
Final Thoughts Preparing & Gardening For Spring
We all get excited about the warmer temperatures ahead, but having a plan and preparing your garden for spring requires a bit of work first.
You now have a checklist for what needs to be done in preparation for spring gardening. Right now during the winter months is the perfect time to take inventory of seeds and plan out your gardening season for the year, not just for spring.
If it’s too cold to work outside with the soil, cleaning your gardening storage space and tools is a productive use of your time right now.
You can also use this time to fix or add any structures or raised beds to your yard.
Once it’s warm enough to work in the soil, clean up the beds, add soil if they’ve compacted down, and top them with compost.
Based on how your garden turned out last year, what preparations are you making for the upcoming gardening season? Add your thoughts to the comments below!
Growmuse.com is a participant in the Amazon Services LLC Associates Program, an affiliate advertising program designed to provide a means for sites to earn commission by linking to Amazon.com. This is done at no cost to you. Read the full disclosure here.
Liked this article? Pin it to read later.
