Any links on this page that lead to products on Amazon are affiliate links and I earn a commission if you make a purchase. Thanks in advance for your support! Read the full disclosure here.
You’ve decided you would like to start a garden. You’ve never planted a garden before and you do not have a green thumb. So you spend 20 minutes researching gardening tips for beginners and come up with a million different ideas.
Where do you start? What’s the easiest way to begin a garden if you’ve never done it before?
Table of Contents
GARDENING TIPS FOR BEGINNERS
I will show you exactly how I started my first garden with success.
Whether you want to grow indoors or outdoors, I’ll cover both!
These gardening tips for beginners will show you how to find the right location for your garden. From there, you’ll learn when and what to plant in your garden. You’ll even learn what soil and seeds to use, and the bare minimum tools you’ll need.
By the end of this, you’ll walk away with all of the gardening tips necessary to start your first garden!
GARDEN INDOORS OR OUTDOORS
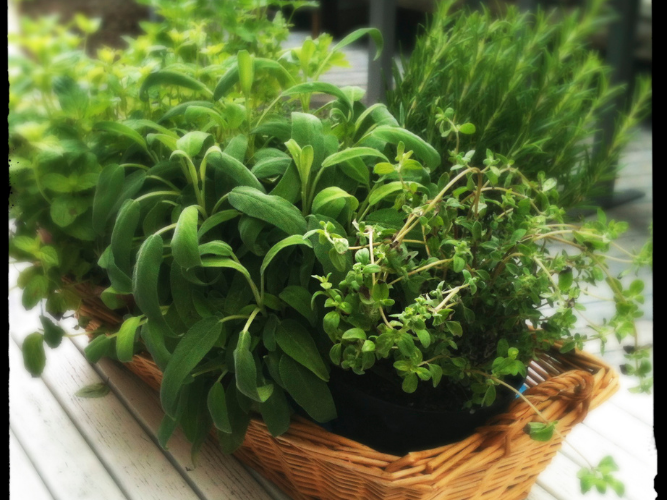
Many people think of gardening as something you do outdoors. If you don’t have the space for a garden outside, why not plant some herbs or lettuce indoors?
GARDEN INDOORS
If you plan to plant indoors, and don’t want to buy a bunch of equipment, look for a sunny window.
It’s important to choose a south-facing window. Get your compass out and figure out if you have a windowsill that gets sunlight from the south. This is the best way to get your plants the sunlight they need throughout the day.
You can then place your plants on the windowsill. If the ledge isn’t big enough, you can prop the plants up on tables to catch the light.
Now, if you don’t have any south-facing windows, you’ll definitely need to buy some grow lamps.
The advantage of grow lights is that you can literally grow anywhere in your house. Think about a closet (that has enough airflow), your kitchen, your dining room (we have a set up here), or your living room (we also have a set up here).
Here’s an overview of our indoor set up with grow lights.

GARDEN OUTDOORS
To garden outdoors you’ll need to do a bit more planning. Consider where you get at least 6-8 hours of full sun each day.
Your second option is to find a location that gets 4-6 hours of sunlight per day. Some vegetables may grow in partial sun.
GARDEN LOCATION
No one has the time or the patience to sit around and follow the sun patterns every hour of the day. When the seasons change, the sun exposure also changes.
That means that you would need to map out the sun in your yard throughout the year.
If you just decided to start a garden, there is no way you have this information.
So what do you do?
To find the best location for your garden, you will want to use the Suncalc App.
Visit www.suncalc.org.
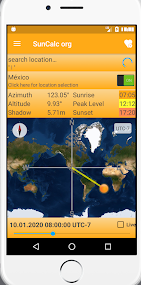
This app allows you to type in your exact address and see how much sun you get during the fall, winter, and summer months.
These are the results for our home garden after using the Suncalc App.
LOCATE YOUR UTILITIES
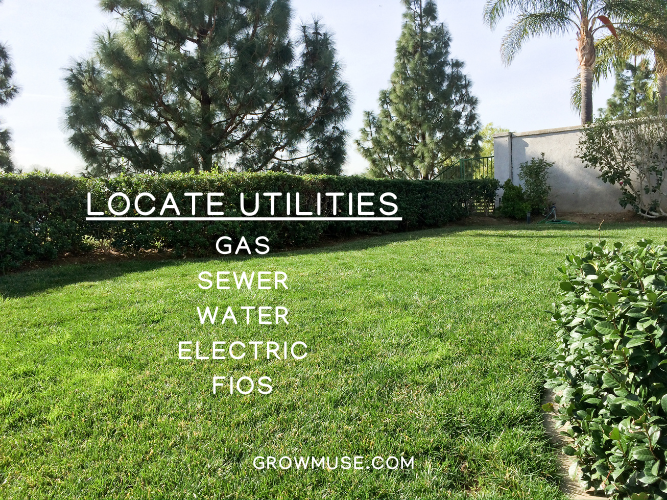
Knowing where your utilities are on your property is important.
Utility companies can dig up areas around your home and completely mess up your garden.
For example, if there is a gas leak or plumbing problem, they’ll need to investigate.
Utilities include: Energy + Water + Sewer + Internet FIOS + Gas
To find out where your utilities are, do a search for “Miss Utility” in Google for your state.
Miss Utility will allow you to submit one ticket to all of your utility companies. Each company will then come out to mark where each of your utilities is located.
You then use this information to plan your garden around these utility lines.
GARDENING WITH A SEPTIC TANK
Locate your septic tank and the disposal field.
Plan your vegetable garden away from the septic tank and leach field.
The University of New Hampshire Cooperative Extension says, “Unfortunately, placing raised beds over the drainage area isn’t a good solution either. The added soil depth of the beds may inhibit evaporation and limit the effectiveness of the septic system.”
Plants on disposal fields can absorb wastewater pathogens. Eating vegetables that have absorbed wastewater pathogens can make you very sick.
UNIVERSITY OF MAINE
PLANT HARDINESS ZONE
The Plant Hardiness Zone tool allows you to type in your zip code and will show you which zone you’re in. This will help you understand vegetables and varieties well-suited for your climate.
Many seed packets will tell you if a certain plant or variety grows well in your climate.
FROST DATES & TEMPERATURES
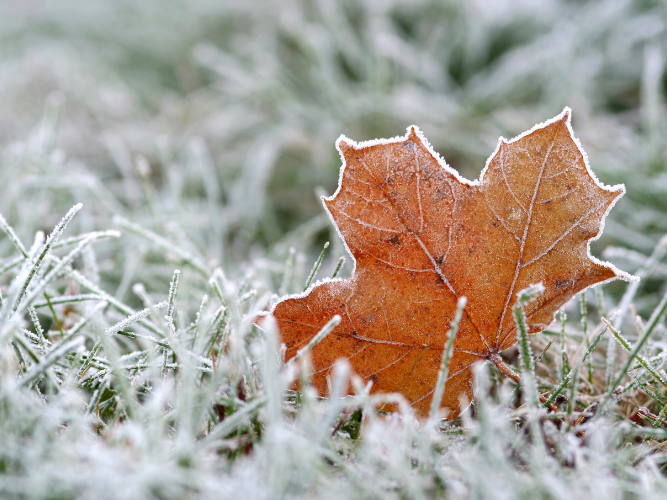
This Frost Date Tool allows you to type in your zip code to see the average date of your last spring frost and your first fall frost.
These dates are important for gardeners as they signal the beginning and end of the gardening season if you’re not using weather extension tools.
You’ll want to use these dates to plan backyards and see if you have enough time to get your seeds in the ground before the frost.
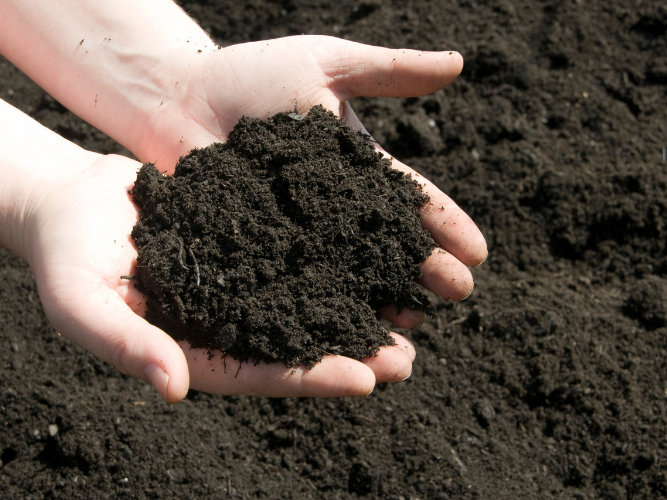
HIGH-QUALITY SOIL
If you want the best chances for your garden, you need to start with high-quality soil.
When I researched soil for my first garden, I was completely overwhelmed. I remember going to Home Depot not finding any of the brands I wanted.
My recommendation for finding high-quality soil is to go to your local nursery and ask customer service for advice.
They are so knowledgeable and work with master gardeners and experienced home gardeners daily, so know what works best for your garden needs and your location.
SOIL FOR THE OUTDOOR GARDEN
You will need three products to create the best environment for your plants.
TOPSOIL
As a general rule of thumb, you’ll want to fill your garden container with topsoil. The topsoil we had from our local nursery included recycled soil with an addition of 20% leaf gro (organic compost) to the mix.
Leave room so you can fill two inches of compost on top of that. This adds nutrients not found in topsoil.
COMPOST
If you’re a home composter, great! Use that. Otherwise, look for compost that is OMRI listed and suitable for organic food production.
For our garden, we used Bumper Crop Organic Soil Builder, another recommendation from our local nursery. It’s full of organic ingredients like worm castings, lobster and crab shells, kelp meal, aged bark, to name a few.
WORM CASTINGS
Lastly, to reduce disease and pest concerns in your garden, you will want to add worm castings.
This is pure worm poop digested from a special worm feed. It looks like dark, tiny poop from worms. You’ll want to look for OMRI listed products again at your local nursery.
When you’re ready to plant your seeds, sprinkle some worm castings into the hole. Then place the seed down and cover with soil.
If you want to produce your own worm castings, learn about vermicomposting.
SOIL FOR THE INDOOR GARDEN
Look for potting mix and not potting soil or garden soil.
Potting mix for container gardening and indoor gardening is light and fluffy. It is soil-less.
If you look at the ingredients, the potting mix will generally include peat or coir, pine bark, and vermiculite or perlite.
Use potting mix labeled with OMRI and/or CDFA certifications. These certifications ensure substances and materials used in the production or handling of organic agricultural products by farmers and processors are suitable for organic food production.
Remember, don’t use garden soil, which is better for outdoor gardening.
FERTILIZER
If growing indoors, in the first 14 days, plants will take up all the nutrients they need.
Fertilize your indoor plants every two weeks to maintain healthy nutrient levels for your seedlings.

GS Plant Foods makes a good organic liquid kelp. Follow the instructions on the bottle for dilution. A little goes a long way.
HIGH-QUALITY SEEDS
You can get seeds for cheap online. Beware they may not have the best germination rates. There’s also an issue with chemicals and pesticides.
Paying an extra dollar or so goes a long way in terms of quality of seed. Your chances of growing success planting higher quality seeds are better, so don’t sacrifice that.
My go-to seed company is Johnny’s. During my first growing season I purchased all of my seeds here and spent a pretty penny for them.
Johnny’s offers a ton of variety you can’t find elsewhere. I’m very happy with how my garden turned out, so there are no regrets there.
I have a ton of leftover seeds that I’ve stored away for next season or given to neighbors and friends.
Want a more economical option?
Pine Tree Garden Seeds is great. They offer seeds in smaller packs, with fewer seeds, so it’s much cheaper for the beginner home gardener. They’re high-quality and a trusted brand.
If you’re starting out and don’t want to spend a ton of money, start with Pine Tree Seeds.
CROPS FOR BEGINNER GARDENERS
One very overwhelming aspect of gardening is choosing the right crops for your location, climate, and space.
A big tip on gardening for beginners would be to stick to vegetables that grow fast or are high-yield vegetables.
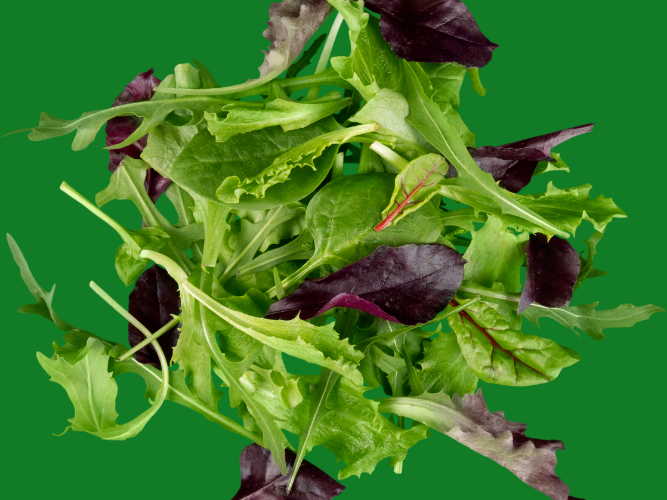
- Fast-Growing Vegetables (meaning you can harvest in 28 days): radish, pac choi, lettuce mix, cress, sprouts, shoots
- High-Yield Vegetables: These won’t grow as fast as 28 days, but over time will provide a lot of produce. You can cut these every week and they will come back over time. These high-yield vegetables include chard (Swiss chard), kale, collards, oregano, mint, chives, sage, basil, parsley.
- Small Vegetables: Plant these around larger crops. Pack them in tightly. These vegetables may take longer to mature but are small, and great for making the most of small spaces. Consider growing spinach, arugula, celery, leeks, bunching onion, beets, turnips, dill, cilantro, thyme, and rosemary.
PLANTS LIKE TO BE PLANTED TOGETHER
Not all plants grow well together. Use this companion planting guide as you choose your crops for each container or raised bed.
There are so many ways to mix and match, so have fun with it!
Companion planting benefits include:
- Shade regulation – Taller plants shade plants that can’t handle as much sun
- Natural supports – Sunflowers or other tall plant can act as a natural trellis
- Healthy soil – Some vegetables provide more nitrogen and others may bring nutrients from deep within soil up to more shallow plants
- Weed suppression – Planting intensively with a variety of crops suppresses weeds
Not only do you want to companion plant, you should also plant flowers and herbs in each bed.
You will help attract beneficial insects for pest control by planting 30% of your bed with flowers or herbs.
- Flowers and herbs Include: basil, chives, oregano, mint, sage, rosemary, thyme, lemon balm, lemongrass, dill, cilantro, garlic, yarrow, borage, nasturtium, echinacea, marigold, zinnias
TOOLS & TIPS ON GARDENING FOR BEGINNERS
You don’t need a ton of tools when you’re starting out.
If planting indoors, you can use trays or repurpose containers you have on hand.
If planting outdoors, my recommendation is to start with a raised bed kit. These Australian-made beds from a company called Birdies last longer than wood and are tall enough that you don’t have to dig up the ground you place them on top of.
It takes about 20 minutes to install each one, which is much faster than other kits. You can purchase them here from Epic Gardening.
My full review of Birdies Raised Beds here.
TOOLS
- Shovel: Good for digging new beds or moving soil or debris around.
- Hoe: Useful for weed control if you don’t want to pick your weeds by hand
- Garden Rake: Helpful when preparing a garden bed for planting. You can spread out your compost easily with this.
- Row Cover: Useful if you want to extend your seasons. Keep your plants warm from snow and below-freezing temperatures, and protect crops from pests. You want to look for Agribond row cover.
- Trowel: Great for transplanting or use instead of a big shovel for smaller spaces.
- Garden Hose: Find thick, heavy rubber hoses that won’t kink or break apart.
- Garden Hose Spray Nozzle: You want one with a variety of settings and one that locks in place, giving your hand a break.
- Clippers: Heavy-duty clippers are necessary for crops with thick stems like tomatoes, or if you want to cut a lot of your harvest in bunches.
- Scissors: A sharp pair of scissors will make harvesting much easier. Also useful for cutting twine if you need to.
- Tubs: Store your gardening supplies in.
- Wheeled Cart: If your storage space is far from your garden, it’ll be helpful to have some sort of cart with wheels to move supplies from one place to another. Even a child’s wagon is suitable.
- Plant Labels: These are helpful for marking out in your garden where you planted what. You’ll never remember it all.
- Seed Organizing Storage Container: Save your seeds in a container to maximize longevity and so you know where are your seeds are at any given time.
- Seed Storing Note: It’s ideal to store seeds in the fridge of ‘optimum’ germination. Fridge storage is good if you want to store seeds for 3-5 years. Keep the temperature below 50 degrees Fahrenheit and less than 50% humidity.
- If you’re going to use your seeds within a year or two, keeping them in a dark, cool room will be just fine.
- If you’re really concerned about germination rates before planting, try this seed germination test.
- Put 10 seeds in a folded & moist paper towel.
- Place the towel with seeds inside a bag.
- Leave the bag slightly open to allow for airflow.
- Every other day, begin checking for germination.
- Once the seeds start to germinate, you can calculate the germination rate.
- Say 7 seeds germinate while 3 didn’t. That gives you a 70% germination rate for those seeds.
DIRECT SEEDING GARDENING TIPS FOR BEGINNERS
Direct seeding means planting the seed directly into the garden bed.
With direct seeding you do not need to start the seeds in advance indoors and transplant them into the garden.
Carrots, turnips, beets, and some greens prefer direct seeding over transplanting.
Seed packets will guide you to direct seed versus transplant.
Direct seeding is also great because as a beginner gardener, you learn what different plants look like in the early stages of life. You become familiar with a sprouted seed you planted versus a weed that’s growing and need to pull ASAP!
GARDEN MAINTENANCE
Maintaining your garden consists of giving it enough water, lots of light, and just the right amount of heat.
ENOUGH WATER
Look at the top of soil. If 30% looks dry, water the entire surface area from edge to edge.
For indoor gardens a spray bottle works for tiny baby plants growing indoors. As seedlings grow, you’ll need to use a watering can.
For outdoor gardens you’ll want to use a hose to spray. You can insert your finger into the soil about one inch deep. If it feels moist, you’re good! If it feels dry, water deeply.
A LOT OF LIGHT
Some seeds need darkness to germinate. Some plants germinate with light. Most will germinate under the soil in the dark.
For indoor gardens, growing requires 16-18 hours of light per day. Your lamp source should sit 6″-12″ above plants. If they don’t get enough light, they’ll get leggy and fall over. These don’t make for healthy plants later on in it’s life. We use these LED lights.
For outdoor gardens, you already know how to find the most sunlight as we discussed above in finding the right location.
WARM TEMPERATURES
Germination depends on temperature. If you keep temperatures around 75 F, most crops will germinate.
ANIMAL PROOFING VEGETABLE GARDENS

There are so many ways to prevent animals from attacking your crops. Most people install a large fence around their beds. This is costly and time-intensive.
I found the simplest and most economical way to animal proof my raised garden beds without spending a ton of money.
STEP 1: Before adding soil to your beds, layer underneath a sheet of hardware cloth. This metal layer prevents digging pests like groundhogs, moles, gophers, and voles from coming up through your beds. Skipping this step could lead to lots of crop damage from within.

STEP 2: Install these high-rise super hoops without equipment. These hoops will hold up any netting or garden fabric you use to protect your crops from birds, squirrels, deer, and other animals that might want to taste your plants.
Simply push the hoops on each end into the soil deep enough so they don’t move.
STEP 3: Cover the hoops with the bird netting or row cover fabric.


STEP 4: Secure the netting or fabric with clamps.

I’ve never had any issues with critters snatching up my harvests before I could get to them.
HOW TO PROTECT VEGETABLE GARDEN FROM ANIMALS WITH BIRDIES BEDS SIZE ADVANTAGE
The benefit of animal proofing the Birdies raised beds is that they are high and generally smaller in size than traditional raised beds.
The beds are high enough so squirrels won’t bother trying to squeeze under your netting. They’re also small in regards to surface area, so deer won’t jump into them. They feel trapped in the Birdies beds.
Neighbors with lower and wider wooden beds, tell me all the time the deer chew through their netting and stomp all over their beds because of the size.
FOLLOW YOUR CALENDAR (CRUCIAL TIP VEGETABLE GARDENING FOR BEGINNERS)
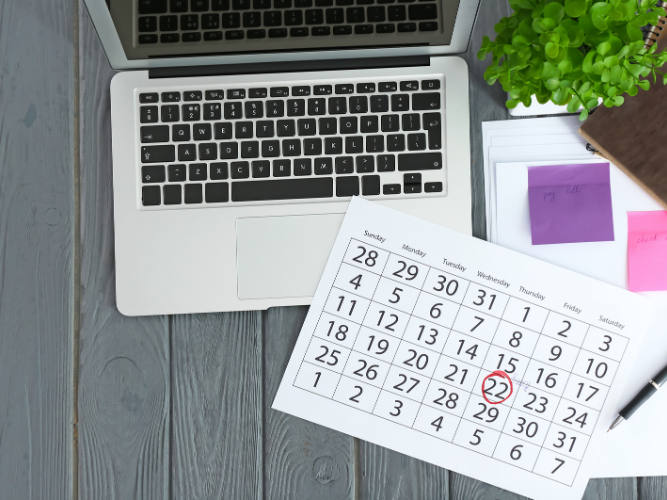
Create a system to keep track of which plants you want to grow and what you need to do on a weekly or daily basis.
There are free gardening apps you can use that will alert you with certain tasks.
For my first garden, I used this Vegetable Garden Planner and basically planned out my entire growing season from spring to fall.
It was nice to have every step planned out. Each week I’d reference it and know exactly what needed to be done.
The planner helps with knowing when to:
- Start planting a particular crop
- Expect it to sprout
- Thinning to give the plants more space to grow
- Know they’ve reached maturity and it’s time to harvest
FINAL THOUGHTS GARDENING TIPS FOR BEGINNERS
We’ve outlined 13 gardening tips for beginners to help you start your first garden.
Review each section and see what containers you can repurpose to start a garden. If you don’t have anything suitable, buy an easy kit like the Birdie’s raised bed I used for my first garden.
Gardening requires planning. It is my goal that you have all the steps outlined here, so you do not feel intimidated or overwhelmed.
Good luck planning your first garden!
If you have questions on how to start your garden, leave a comment below and I’ll try to help!
Growmuse.com is a participant in the Amazon Services LLC Associates Program, an affiliate advertising program designed to provide a means for sites to earn commission by linking to Amazon.com. This is done at no cost to you. Read the full disclosure here.
Pin to save this article and read later.